Product conditional rules
Try to select different frames to see different wheels
Docs about5 star average rating
1K+ happy customers
Try to select different frames to see different wheels
Docs aboutEach step has its own product views and settings
Docs aboutSee extra product fields added to the handlebars step
Docs aboutSee for your selected bike will look
Docs aboutSee how your selection reveals to a PDF file on the cart step
Docs aboutComplete the order right in the wizard. Alternatively, you can just send selected products to the usual WooCommerce cart
Docs aboutPlace all steps and products on one step and provide default selected products.
See DemoAll selected products will be reflected in the main cart immediately.
See DemoSequence mode with all steps presented but available step-by-step with an unchangeable fixed product.
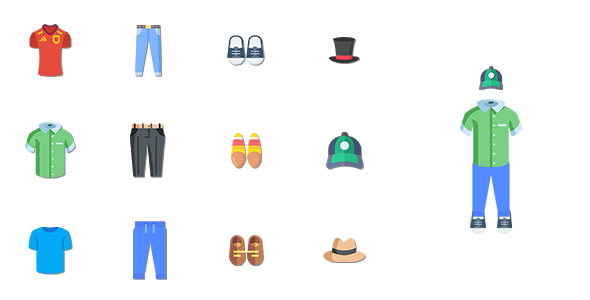
See DemoAdd a wizard with a few different products to select to a product page to create a flexible composite product.
See DemoAdd a wizard with only pre-defined products to a product page to create a usual static composite product.
See DemoMake all steps available by default and ordering products through email.
See DemoCreate dynamic email forms without any products at all, but using any available features you need.
See DemoContinue to select products in a wizard after choosing a product. Helpful for third-party product types support.
See Demo| Lite | PRO | |
|---|---|---|
| Unlimited number of steps | ✅ | ✅ |
| Creating product kits in the cart | ✅ | ✅ |
| Query products & categories | ✅ | ✅ |
| Availability condition rules | ✅ | ✅ |
| Workflow modes | 2 | 5 |
| Navigation templates | 2 | 7 |
| Products list views | 2 | 5 |
| Product views | 2 | 10 |
| Variable product property select views | 2 | 4 |
| Default state and cart content | ❌ | ✅ |
| Price discount | ❌ | ✅ |
| Reflect cart in the main cart immediately | ❌ | ✅ |
| Min/Max products selected/price | ❌ | ✅ |
| Custom step inputs | ❌ | ✅ |
| Cart kits price and base product | ❌ | ✅ |
| Contact form on the results step | ❌ | ✅ |
| Inner checkout step | ❌ | ✅ |
| Results PDF | ❌ | ✅ |
| Thumbnail generation | ❌ | ✅ |
| Product/Combination settings | ❌ | ✅ |
| Support product attributes | ❌ | ✅ |
| Filters for steps | ❌ | ✅ |
| Download free | Get PRO |
There are two ways to achieve this. Both of them have their own pros and cons.